- English
- Español
- Português
- русский
- Français
- 日本語
- Deutsch
- tiếng Việt
- Italiano
- Nederlands
- ภาษาไทย
- Polski
- 한국어
- Svenska
- magyar
- Malay
- বাংলা ভাষার
- Dansk
- Suomi
- हिन्दी
- Pilipino
- Türkçe
- Gaeilge
- العربية
- Indonesia
- Norsk
- تمل
- český
- ελληνικά
- український
- Javanese
- فارسی
- தமிழ்
- తెలుగు
- नेपाली
- Burmese
- български
- ລາວ
- Latine
- Қазақша
- Euskal
- Azərbaycan
- Slovenský jazyk
- Македонски
- Lietuvos
- Eesti Keel
- Română
- Slovenski
- मराठी
- Srpski језик

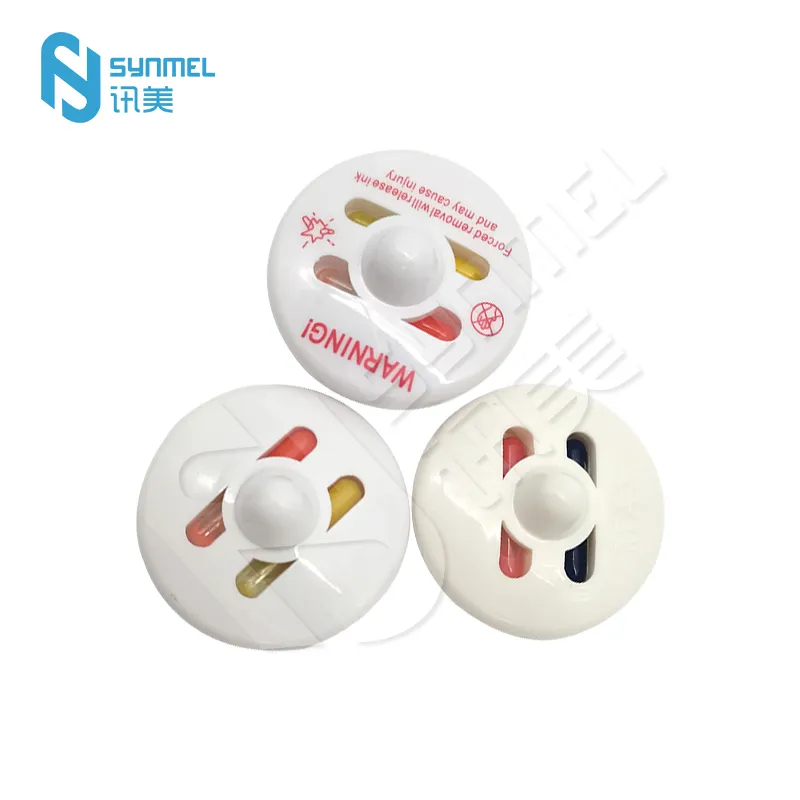
How to install dome ink tag
2024-08-30
Dome ink tag are usually used for identification and decoration, and the installation process is slightly different. Here are the steps to install dome ink labels:
1. Preparation
Clean the surface: Make sure the surface to which the label is to be applied is clean, dry, and free of dust and grease.
Prepare tools: You may need auxiliary tools such as cleaning cloths and scraper cards.
2. Tear off the protective paper on the back of the label
Be careful: Carefully tear off the protective paper on the back of the label from the edge to avoid direct contact with the sticky surface.
3. Align the label
Precise alignment: Align the label to the position where it needs to be applied. You can first use a handheld label to check the position on the surface and then decide the final position.
4. Apply the label
From the center outward: Gently press the label from the center and gradually press it smoothly toward the edge to prevent bubbles from forming.
Use a scraper card: If there are bubbles, you can use a scraper card or a clean cloth to push from the center outward to ensure that the label fits flat.
5. Handle the ink
Drying time: If there is ink on the label, make sure to give the ink enough time to dry before use to avoid smudging.
Avoid contact: Avoid touching or applying pressure until the ink is completely dry.
6. Check the label
Check the fit: Make sure the label has no bubbles or wrinkles and fits the surface completely.
These steps will help you install and use dome ink tag effectively.